
The equipment used in this The Blood of Dawnwalker One Shot Build is designed around one main goal: generating and restoring activation charges as consistently as possible.
Artery Strike costs two activation charges, so the build becomes much more reliable when the rest of your equipment restores charges through normal actions, blocks, Perfect Blocks, and attacks.
This guide covers the armor, accessories, and weapon used in the setup. For more complete character setups, visit our The Blood of Dawnwalker Builds section.
Best Equipment Strategy For The One Shot Build
Once the core skills are equipped, most of the remaining gear should focus on activation charge restoration.
The exact equipment can change depending on the drops you receive, but the important idea is to look for bonuses that restore activation charges through actions you already perform during combat.
Perfect Blocks are especially valuable because several pieces in this setup can reward the same defensive action with additional charge restoration.
Arbiter Chest Piece
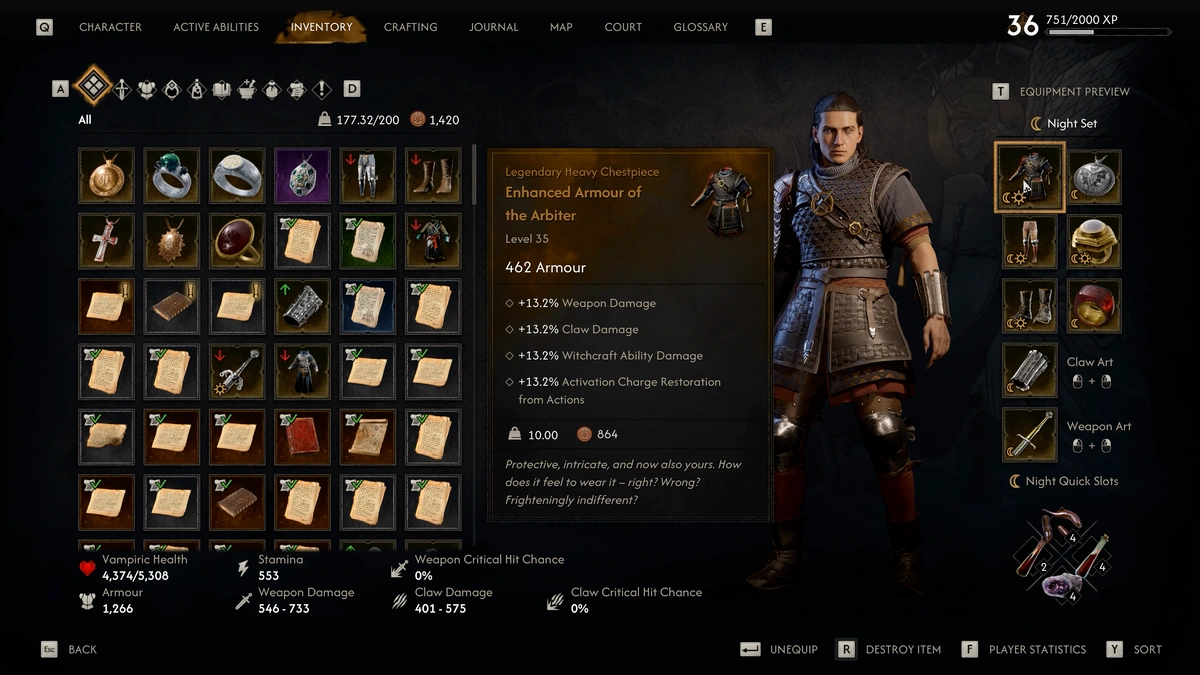
The Arbiter chest piece is used because it provides activation recharge from actions.
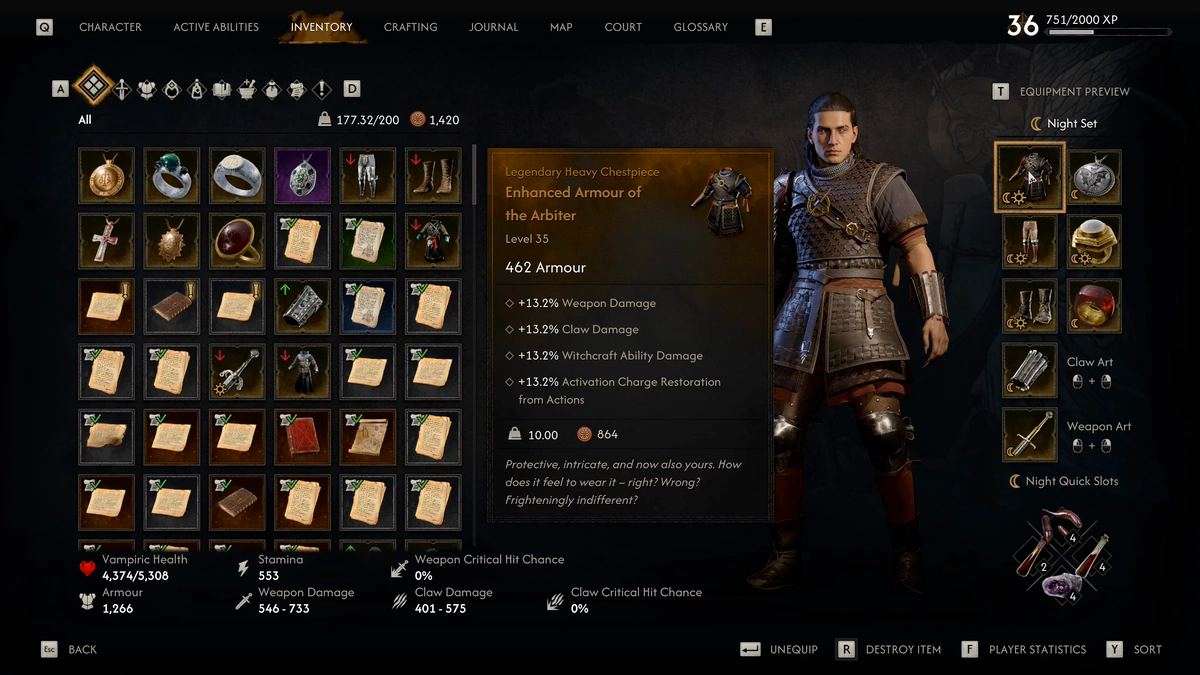
This fits naturally into the One Shot Build because you are constantly performing attacks, defensive actions, and abilities during combat.
Instead of relying on a single source of activation charge recovery, the armor contributes to the resource loop while you continue fighting normally.
Arbiter Shin Guards
The Arbiter shin guards are particularly useful because the version shown in the build has two relevant activation charge effects.
One effect restores activation charge from regular actions, while another provides activation charge through Perfect Blocks.
That combination is valuable because Perfect Blocks are already central to the build. Successfully defending yourself therefore contributes directly to preparing the next Artery Strike.
What About The Boots?
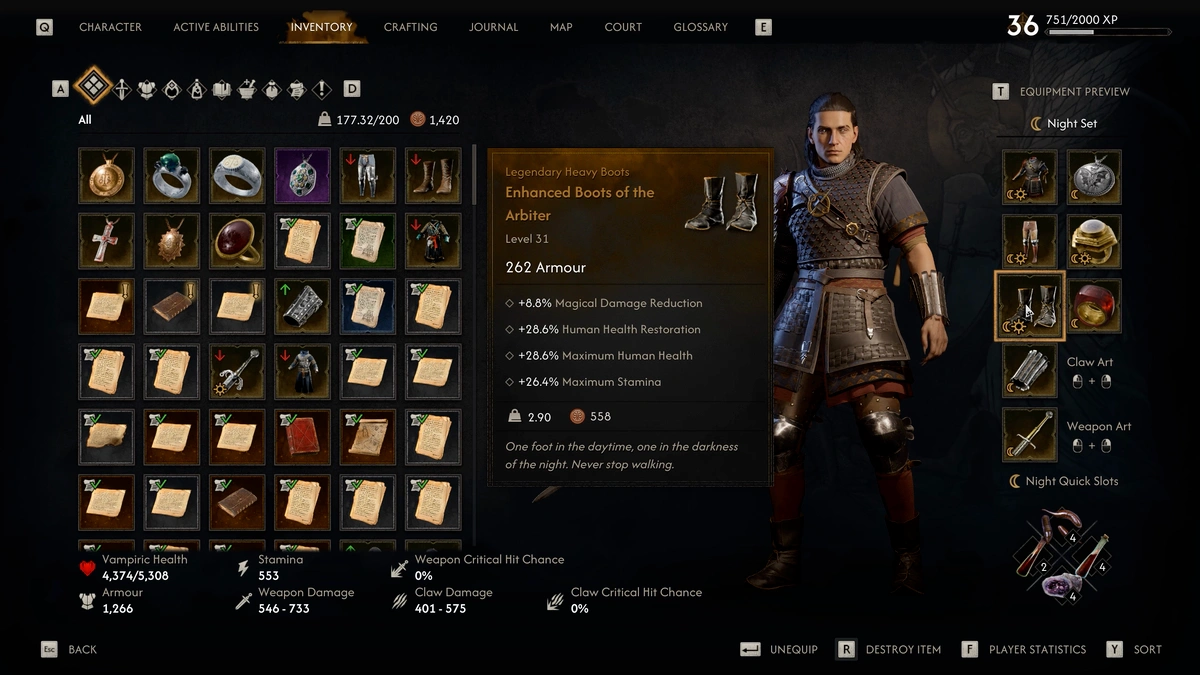
The boots used in the demonstrated setup are not a major part of the activation charge strategy.
They mainly provide raw statistics, and the build creator specifically notes that a better version with useful activation charge bonuses would be preferable if one becomes available.
For that reason, the boots are one of the easiest equipment slots to replace when you find a stronger drop.
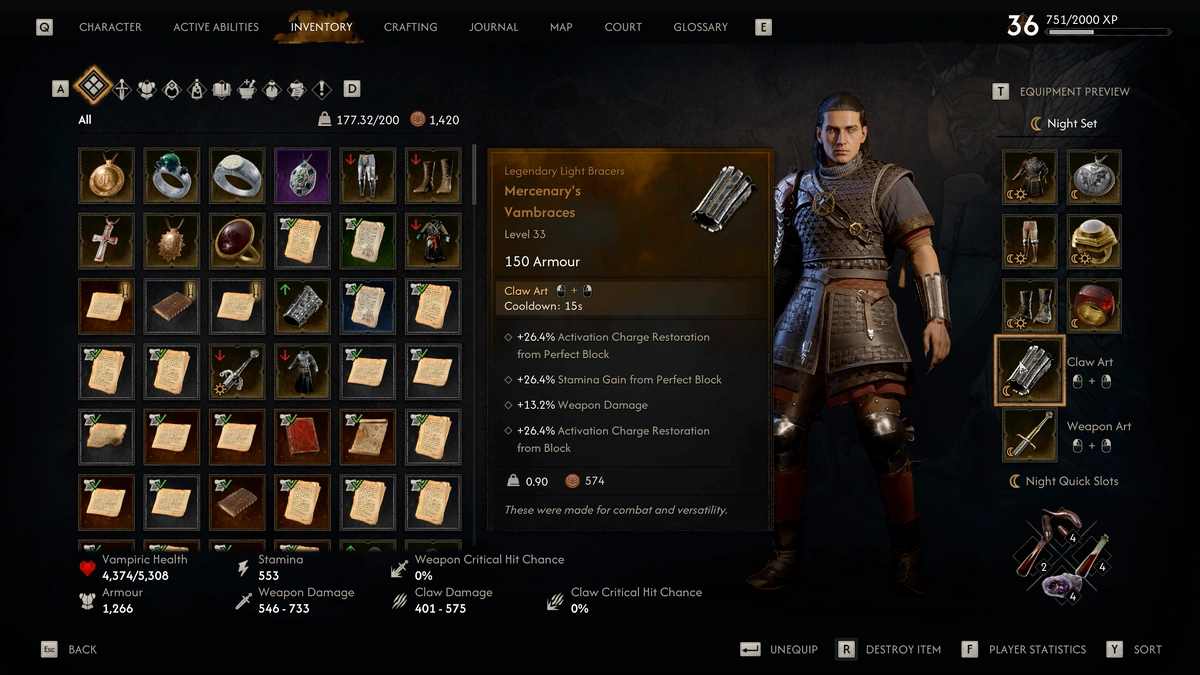
Mercenary Vambraces
Instead of using the Arbiter vambraces, this version of the build switches to Mercenary Vambraces.
The demonstrated pair provides activation charge restoration from both Perfect Blocks and regular blocks.
That makes the vambraces another strong fit for a build that spends a large amount of time reacting defensively before immediately counterattacking.
Mercenary Vambraces are random drops, so you may not receive exactly the same bonuses. If you cannot find this specific version, prioritize another piece that provides additional activation recharge.
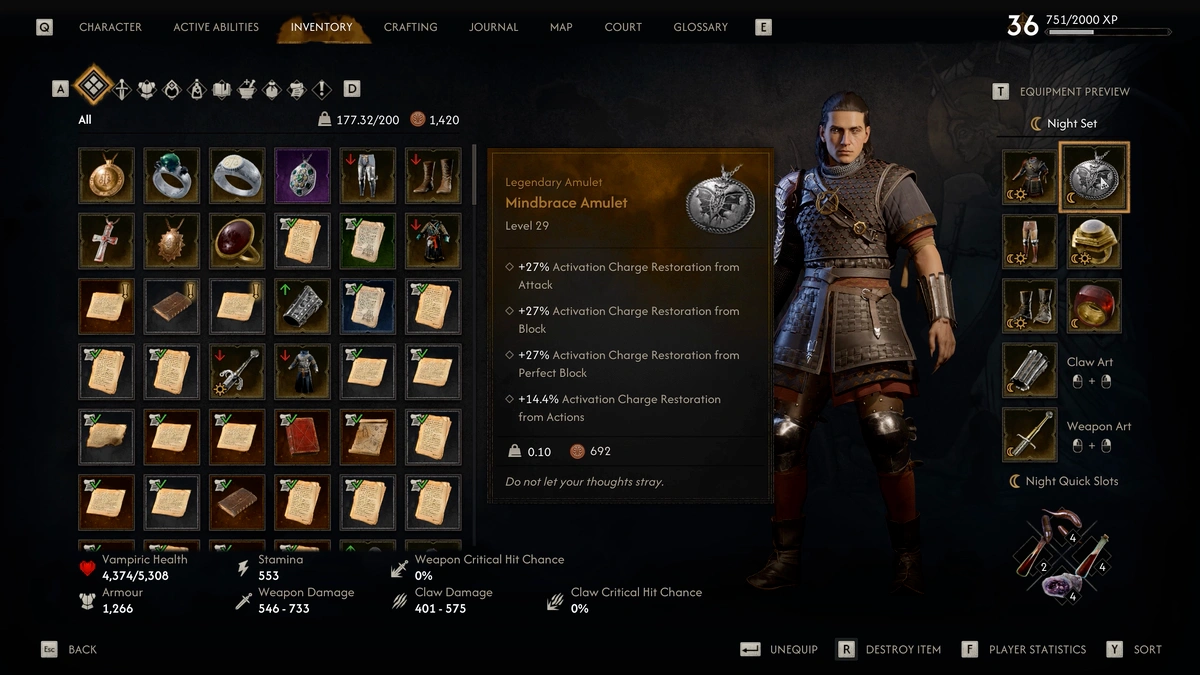
Mind Brace Amulet
The Mind Brace Amulet is one of the strongest accessories shown for activation charge generation.
The version demonstrated in the build provides activation charge through several common combat actions, including:
- Perfect Blocks
- Regular Blocks
- Attacks
- Regular Actions
Because these triggers happen naturally during the One Shot Build rotation, the amulet can contribute activation charge almost continuously instead of requiring a special action.
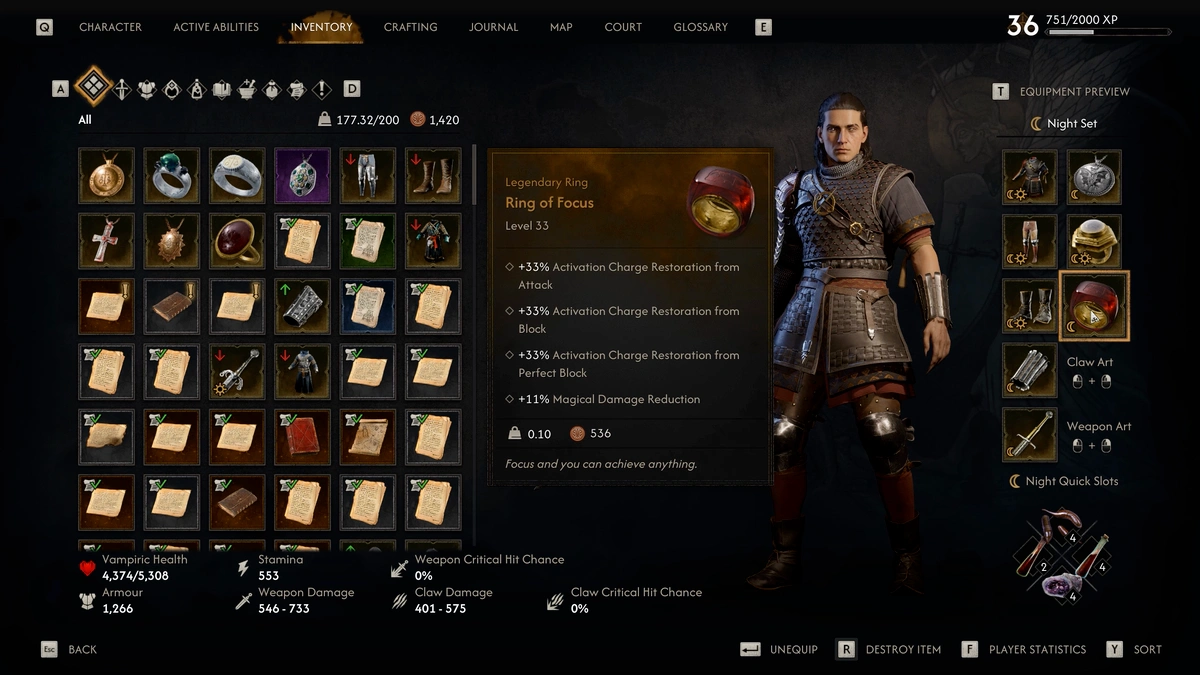
Ring Of Focus
The Ring of Focus follows a similar philosophy to the Mind Brace Amulet.
It provides useful activation charge support from Perfect Blocks, blocks, and attacks. The version shown also includes additional magical damage reduction.
This makes it useful both for maintaining the ability rotation and for providing some extra defense while fighting stronger enemies.
Ring of Focus is a random drop, so there is no single guaranteed location for obtaining the same version. The recommendation in the gameplay is to keep defeating higher-level enemies until it drops.
Knightly Ring
The other ring used in the setup is the Knightly Ring.
The important advantage of this ring in the demonstrated setup is the additional activation charge it provides.
The build does not depend on this exact ring if you happen to find something better. Any alternative that gives stronger activation charge benefits can also work.
Unlike Ring of Focus, Knightly Ring has a fixed buried treasure location. It can be found in Tantari Woods on the left side of the bridge. The gameplay notes that you do not even need to engage the nearby enemies before collecting it.
King’s Slayer Is The Recommended Weapon
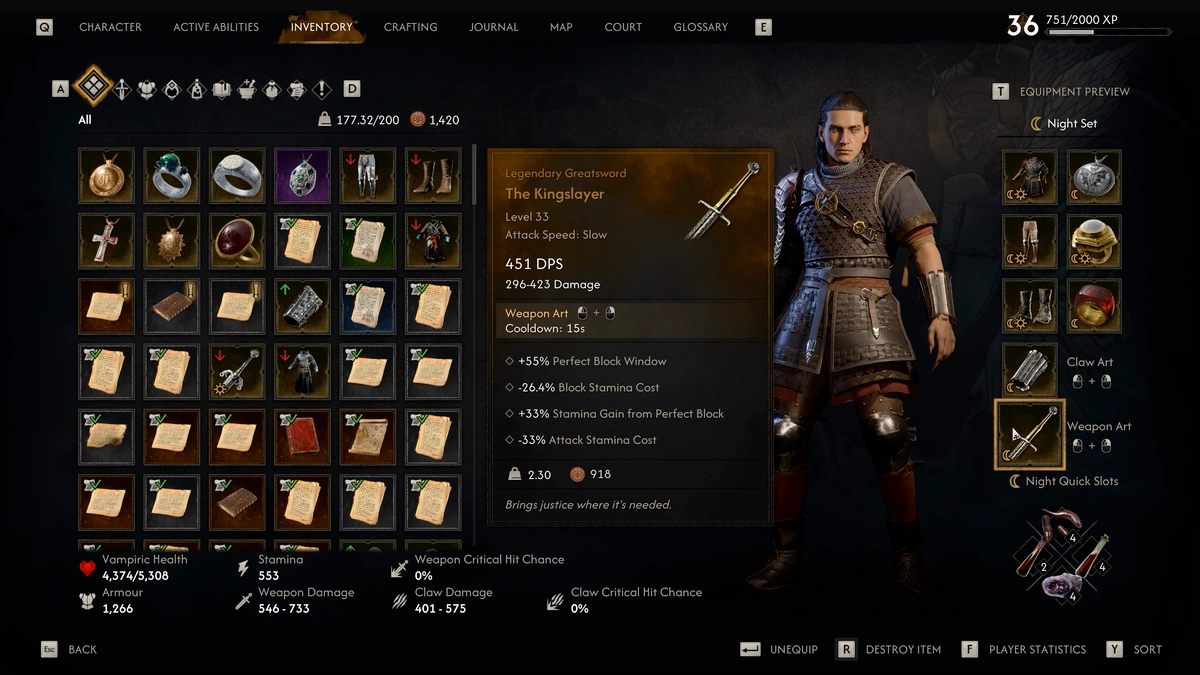
For the weapon slot, the build uses King’s Slayer.
King’s Slayer is especially useful because it increases the Perfect Block window. At the level shown in the build, the weapon provides a 55% increase to that window, making Perfect Blocks easier to perform on Duelist difficulty.
That directly complements the rest of the equipment because several armor and accessory bonuses restore activation charge when you successfully block or Perfect Block.
Where To Get King’s Slayer
King’s Slayer is also one of the easier pieces in the complete equipment setup to obtain.

The weapon is obtained from a buried treasure box on the bank of the river west of Zvartra.
According to the gameplay route, you can travel there shortly after finishing the prologue and collect the weapon from the buried chest.
For the complete treasure route, see our The Blood of Dawnwalker King’s Slayer Location Guide.
How To Get The Arbiter Equipment
The Arbiter armor set is obtained through Bulwark Against Darkness.
The activity becomes available after reaching at least Infamy level 4. The gameplay explanation notes that you then receive a secret message when visiting Zvartra.
Because obtaining the complete Arbiter set involves a longer sequence, the build video does not repeat the entire armor quest and instead focuses on which pieces are useful for this setup.
How To Get Mercenary Vambraces
Mercenary Vambraces do not have a fixed guaranteed location in this guide.
They can drop randomly from enemies and treasure as you level up. The recommended approach is simply to keep opening chests and defeating enemies while looking for versions with useful activation charge bonuses.
If you cannot find the exact vambraces shown here, another item with strong activation recharge can fill the same role.
How To Get Ring Of Focus
Ring of Focus is also described as a random drop rather than an item from a fixed chest.
There is therefore no exact map location to follow. Defeating higher-level enemies gives you additional opportunities to eventually obtain it.
How To Get Knightly Ring
Knightly Ring is easier to target because it comes from a fixed buried treasure in Tantari Woods.
Travel to the left side of the bridge and locate the buried chest. The route shown in the gameplay allows you to collect the ring without fighting the nearby enemies.
How To Get Mind Brace Amulet
Mind Brace Amulet is obtained as a reward from one of Zanti’s court activities called Excavation: Malevolent Presence.
The activity is located farther south, closer to the woods. Travel to the marked location and defeat the enemies there to receive the amulet.
Complete One Shot Build Equipment Setup
The demonstrated setup can be summarized as follows:
- Weapon: King’s Slayer
- Chest: Arbiter Chest Piece
- Shin Guards: Arbiter Shin Guards
- Boots: use the strongest available option until you find better activation charge bonuses
- Vambraces: Mercenary Vambraces with activation charge restoration
- Amulet: Mind Brace Amulet
- Ring: Ring of Focus
- Ring: Knightly Ring
The exact item names matter less than the overall equipment philosophy: stack activation charge restoration wherever possible.
Perfect Blocks, regular blocks, attacks, and standard actions are already part of the build’s natural combat loop. Equipment that rewards those actions makes it much easier to repeatedly use Artery Strike without waiting for charges to recover.
How The Equipment Supports The One Shot Rotation
The full setup works together with the skills covered in our The Blood of Dawnwalker Best One Shot Build Guide.
A successful Perfect Block can trigger several charge-restoration effects at the same time. Quick attacks then help apply bleed, after which Artery Strike can be used as the finishing attack.
Once the first enemy falls, the build can regenerate enough activation charge and cooldown reduction to continue repeating the same sequence against additional targets.
